Pages

Monday, July 25, 2011

My first attempt at a 1860's wardrobe

I went to my first civil war reenactment in the fall of 2007. It was such a new experience for me. An experience that I've not yet forgotten, of course. :) I have to say I was captivated by everything I saw! In the months following we decided to become more involved. I already had a dress made by someone else and Michelle was working on her own so that left Megan. As with any other era we started from the inside out.

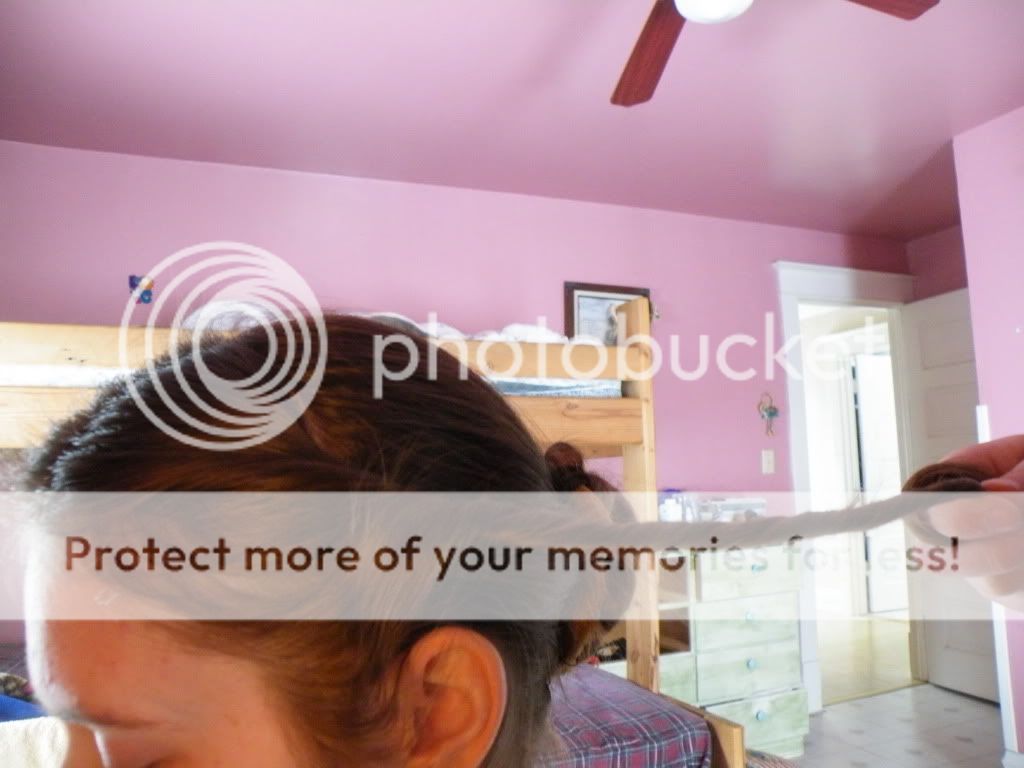
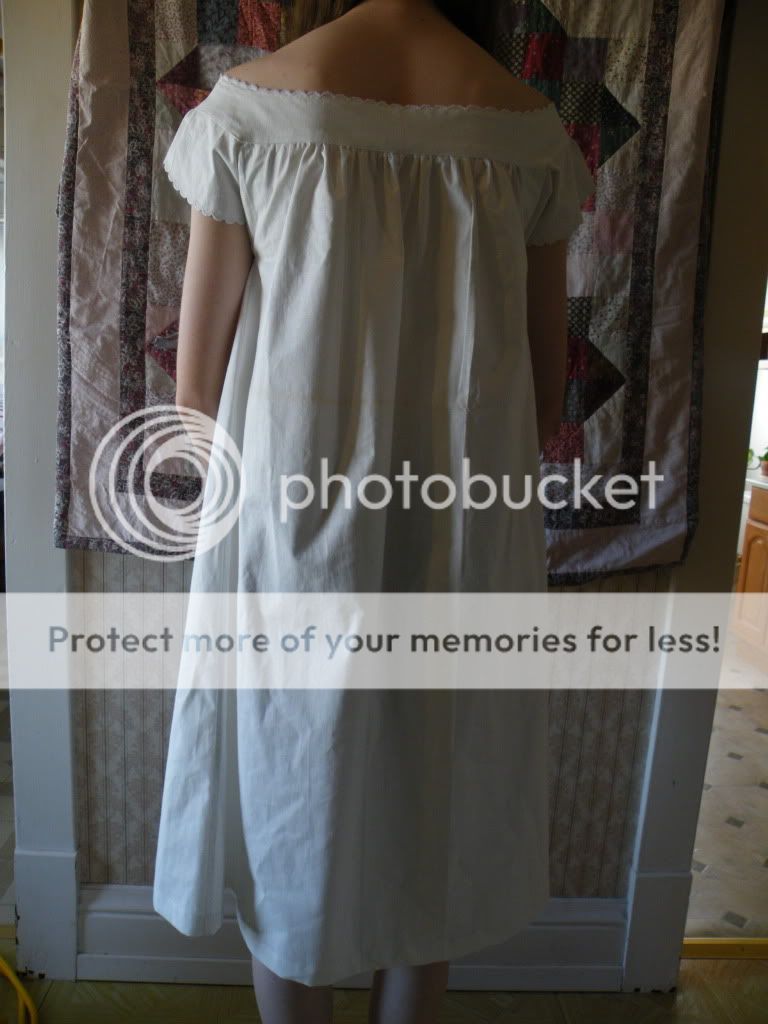
 We used Elizabeth's chemise pattern. The fabric is utility muslin. This was the first pattern I drew. I guess that's why the sleeves are considerable to long. For her drawers I once again used one of Elizabeth's patterns. But since its for split drawers and Megan's needed to be closed I had to do quite a bit few adaptions to switch them to side opening.  Briefly and without pictures, you draft the drawers to measure, then pick a point just "forward" of 1/2 way across each waist edge, and cut a slit down about 5-6"; hem the slit and reinforce the bottom.  Sew the drawers legs, hem, tuck, etc; sew the crutch seam completely.

Then cut two waistbands.  The back band needs to be long enough to wrap to the front a tad.  The front band holds the button, the back the buttonhole.  Gather the front and back to match the bands, and finish the bands as in the pattern.


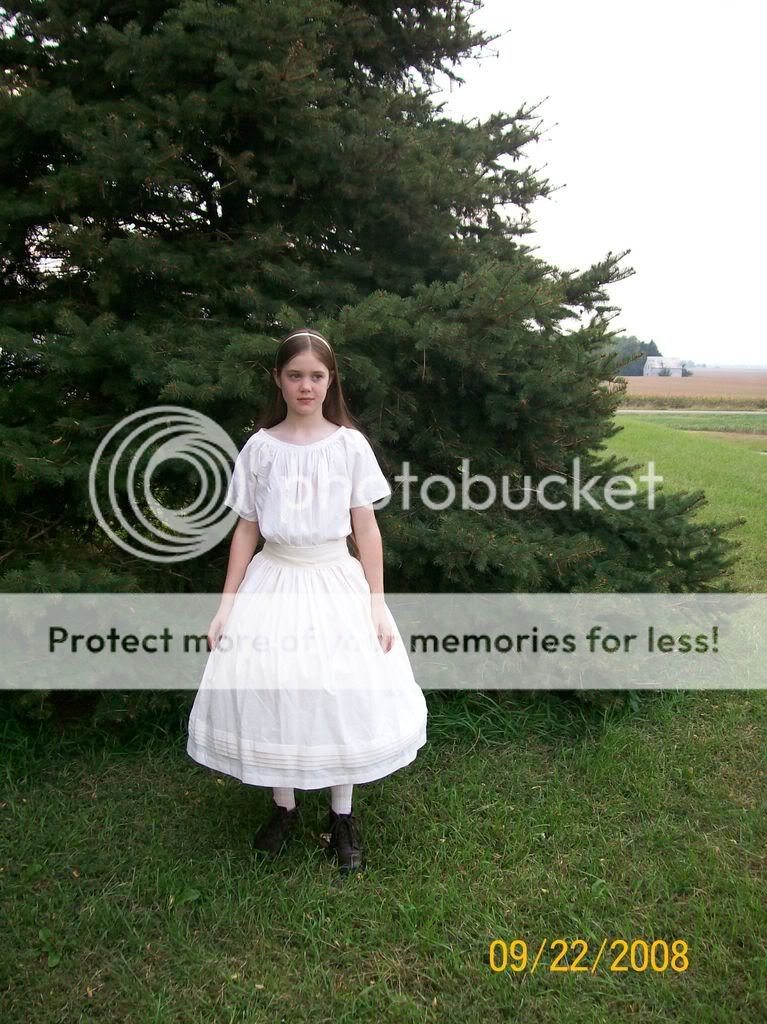
Next comes the cage and petticoats. I don't have a picture of her cage. Which is probably a good thing because it looks pretty rough. :P But it worked for several years so I guess that's all that matters. :D One doesn't need a pattern for something so simple as a petticoat, but this article may help. :) I did 5, 1" (finished) tucks on hers. They really helped add some body and held her skirt out well.


The dress. We got HMP-250 for it. It was one of the best purchases I've ever made. We've used it so much ever since then. Its a perfect base for our dresses. I'd recommend it to anyone! :) We did a Natural Waist bodice, with puff sleeves, and a gathered skirt. I also did 5 tucks on this. The fabric is plaid homespun. It actually held up considerably well. She just out grew it last year and it has alot of wear left in it. :)


We also made it for an interchangeable long sleeve bodice for colder events. Natural waist bodice and coat sleeves.

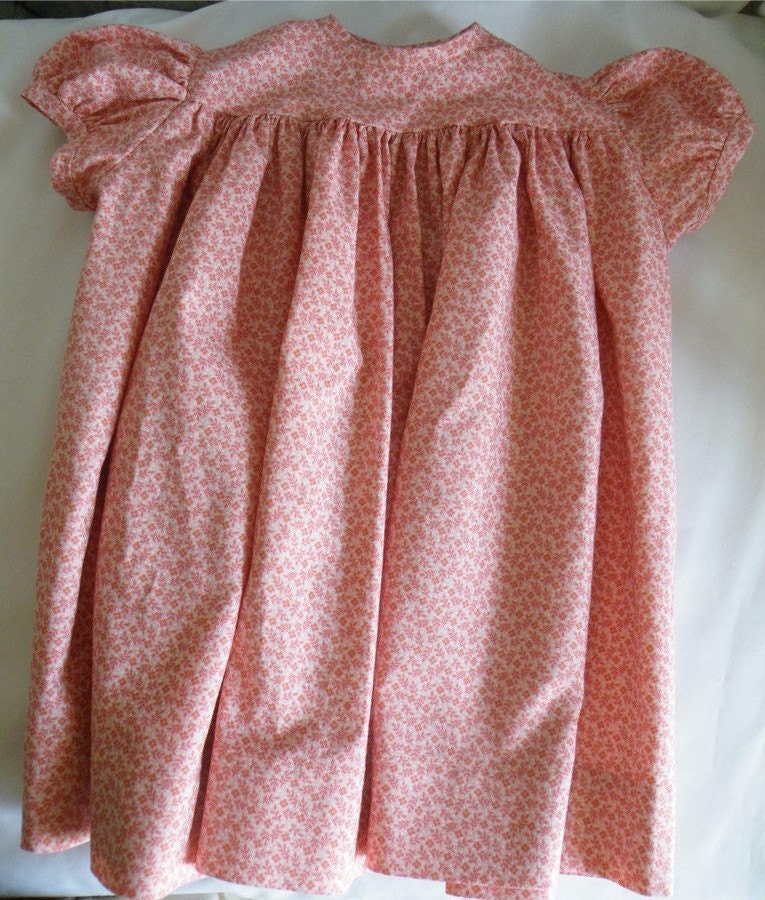
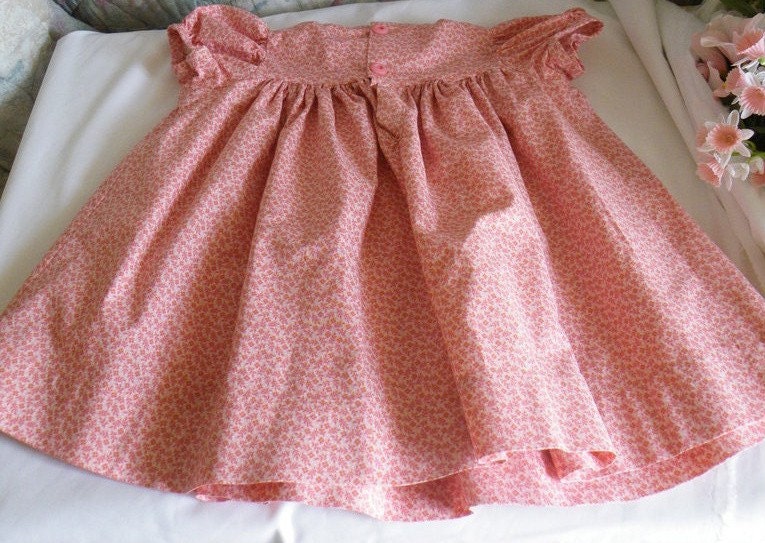
And lastly a pinafore. We used a homespun for it to. Never failing I make the bodices to long everytime I use this pattern. But its an easy enough thing to fix, I suppose. :)


Overall not my best pieces, but I suppose I can't expect much more from a 12 year old. :P 

Love,
Brooke 

Tuesday, July 19, 2011

1860's baby layette

Recently one of my online reenacting friends' was expecting her first child! A while later she discovered she was going to have twins!!! So some of her local friends planned a 1860's baby shower! I so wish I could have been there, but since I live thousands of miles away I couldn't be. Rather I made a few things to send her.  If you know me. You know I prefer simple things. I've never been one for all the frills of fashion. I'm more of a sleek person. That said, that's what I did with these. :D

 For the gowns. I used simple cotton prints.


For the pattern I used Sarah Jane's lovely infant gown pattern. I pleated the front of the bodices and both skirts were hand gathered. I think used the coat sleeve pattern from Elizabeth's pattern.


The chemises were made out a fine white cotton. It was so soft I really enjoyed working with it. :) I based them off of Sarah's pattern here.  (Which is shaped pretty much like this chemise. :) I just added length, tapered it out slightly, cut both the front and back on the fold, and bound the neck link as one 'big' circle.

Lastly we have the caps. :) Once again fine white cotton with lace edging. And self fabric ties which I only put in the bottom. I'm sure I found the pattern for this on Sarah's blog also, but I can't for the life of me find a link. :-/ Basically the brim is rectangle as are the ties and the back is rounded on the top and flat on the bottom as you can see. :D

The adorable recipients Alanna and Jesse. :)

Thanks so much, Sarah Jane for being so helpful and sharing. Your such an inspiration. I'm so blessed to know you!

 I suppose I will sign off now. As I'm running on 3 hours of sleep last night a cup off coffee this morning and I've had a very busy day. Me and  Michelle froze 39 quarts of sweet corn,  pulled and snapped a gallon and a half of green beans, picked a gallon and a half of blackberries in a terrible patch (we're super scratched up now :P), and  we just got done making/canning 12 quarts of blueberry jam. Now the kitchen is spotless and it 10:54 p.m.. :D Needless to say. I'm alittle tired and in for a day of the same tomorrow. :)

Love,
Brooke

Friday, July 15, 2011

1860's hair style tutorial

Hey all!

 I thought I'd post a tutorial this evening. :)


Here's what I used to do the style. 1 hair band, 4 large pins, many bobby pins and fine wire ones. Of course you can modify this to your needs. :)
The Hair
This is the hair I used. Approximately 26" long. You can do it with pretty much any length. As long as you can get into a bun. Or at least a tiny ponytail upon which you will put a false chignon. :)


Separated hair.
  Step 1. Part the hair into 3 sections. (A center part is preferred for historical accuracy on the front sections. Although there is examples of side parts in CDV's.) You can make them any size depending on the look you want. Set the 2 front sections away for later. Step 2. Put the back section into a pony tail. This step is optional if you can get your hair into a bun without and it. That's great. :)


Step 3. Braid, rope, or twist the back section. Rope is shown. Securing the ends is optional. If pins hold it without it coming out that's fine.


Step 4. Coil the hair up into a chignon and secure it with pins. If you have very long or thick hair. I recommend putting pins in as you coil it up.


Step 5. Now its time to use the front section. Rope, braid, or twist the sections according to your tastes.


Step 6. Wrap them around the chignon and secure with fine pins. You can get a completely different look by putting the side sections under the chignon first rather then over...


Finished side view.

Another variation. I split the side sections in half and twisted them both.


For more elegance I draped the side sections over the chignon and curled/crimped them.

Side view of the curls...
I'm off to cleaning a freezer as well as the animal's water tank... :)

Best wishes,
Brooke


Wednesday, July 13, 2011

modern toddler dress

I made this dress quite awhile back for my Etsy shop.


 Its sized for a 12 month old. I listed it around Easter hoping it would sell quickly, but its still here! :P


The material has a lovely drape and was wonderful to work with. I always love things that don't ravel and stay where they are supposed to be. Unlike the spandex I'm currently working with. :-/

A close up shot of the back...


Not much to say about the little thing...so with that I'll sign off...

Love,
Brooke

Monday, July 11, 2011

Past Patterns #707 Chemise

Awhile back my sister Michelle decided she wanted a new 1860's chemise. She generally prefers things to be quite frilly and such, so we decided to use Past Patterns 707 (the one on the left).

For the fabric I used a white cotton. It was already starched so it was pretty nice to work with. The chemise itself was quite complicated, coming from someone who mainly makes simple raglan style chemises anyway. :D It used many techniques I hadn't done before.

It features scalloped edges on the sleeve hem and the top edge of the yoke. We left off the embroidery for durability's sake. 

The yoke is topstitched thru all layers to be attached. It actually wasn't as hard as I expected it to be. I just recommend to pin it quite a bit. ;) Then you whip stitch the yoke facing down to the inside.
The front closes with 3 original china bottons. The yoke was the hardest part to construct by far. I scalloped the edges then took the facing and ironed all the edges under. Then stitched it the the yoke by hand on 3 edges. There's only one layer of fabric to sew it to. So I took one thread of the fabric for every stitch in attempt to make them invisible. It proved to be quite tedious, but the end product was well worth it. :)

For the first time using this pattern it took me quite awhile to complete the chemise. But I think after doing the first one. I'd be able to make another much quicker.  The chemise its self cost about $2.00 to make. The fabric is a repurposed sheet and the buttons were from a lot off of eBay.

Best wishes,
Brooke


Saturday, July 9, 2011

Welcome!

Hello!

 Welcome to my blog! I'm a young seamstress. I've started this to sort of catalog my projects. I'm also hoping to post tutorials, pattern reviews, etc. I've been sewing since I was 4 years old. I sew all kinds of things although I do prefer historical items. :) I've been attending civil war reenactments for the last 4 years. I have my own esty shop: www.stitchesofthepast.etsy.com I've also sewn children's clothes for Originals By Kay


Thanks so much for visiting! Please check back soon for more posts. :)

Sincerely,
Brooke